Export / Import Policy
Policies are an excellent resource in Guardian that allow you to define a desired configuration state at the node or node group level. There are two types of policies in Cloudhouse Guardian (Guardian): Custom and Public. A custom policy is a manually created set of checks used to accommodate an individual user or company's needs. A public policy is an industry-standard policy, as stipulated by the Center for Internet Security (CIS). In Guardian, these are known as benchmarks. For both types, you may need to export or import the policy for various reasons. The following topic describes how to do so. For more information, see Policies.
Export a Policy
You may need to export an existing policy in Guardian in order to view its structure, make edits, or import it elsewhere.
To export a policy in Guardian, complete the following steps:
-
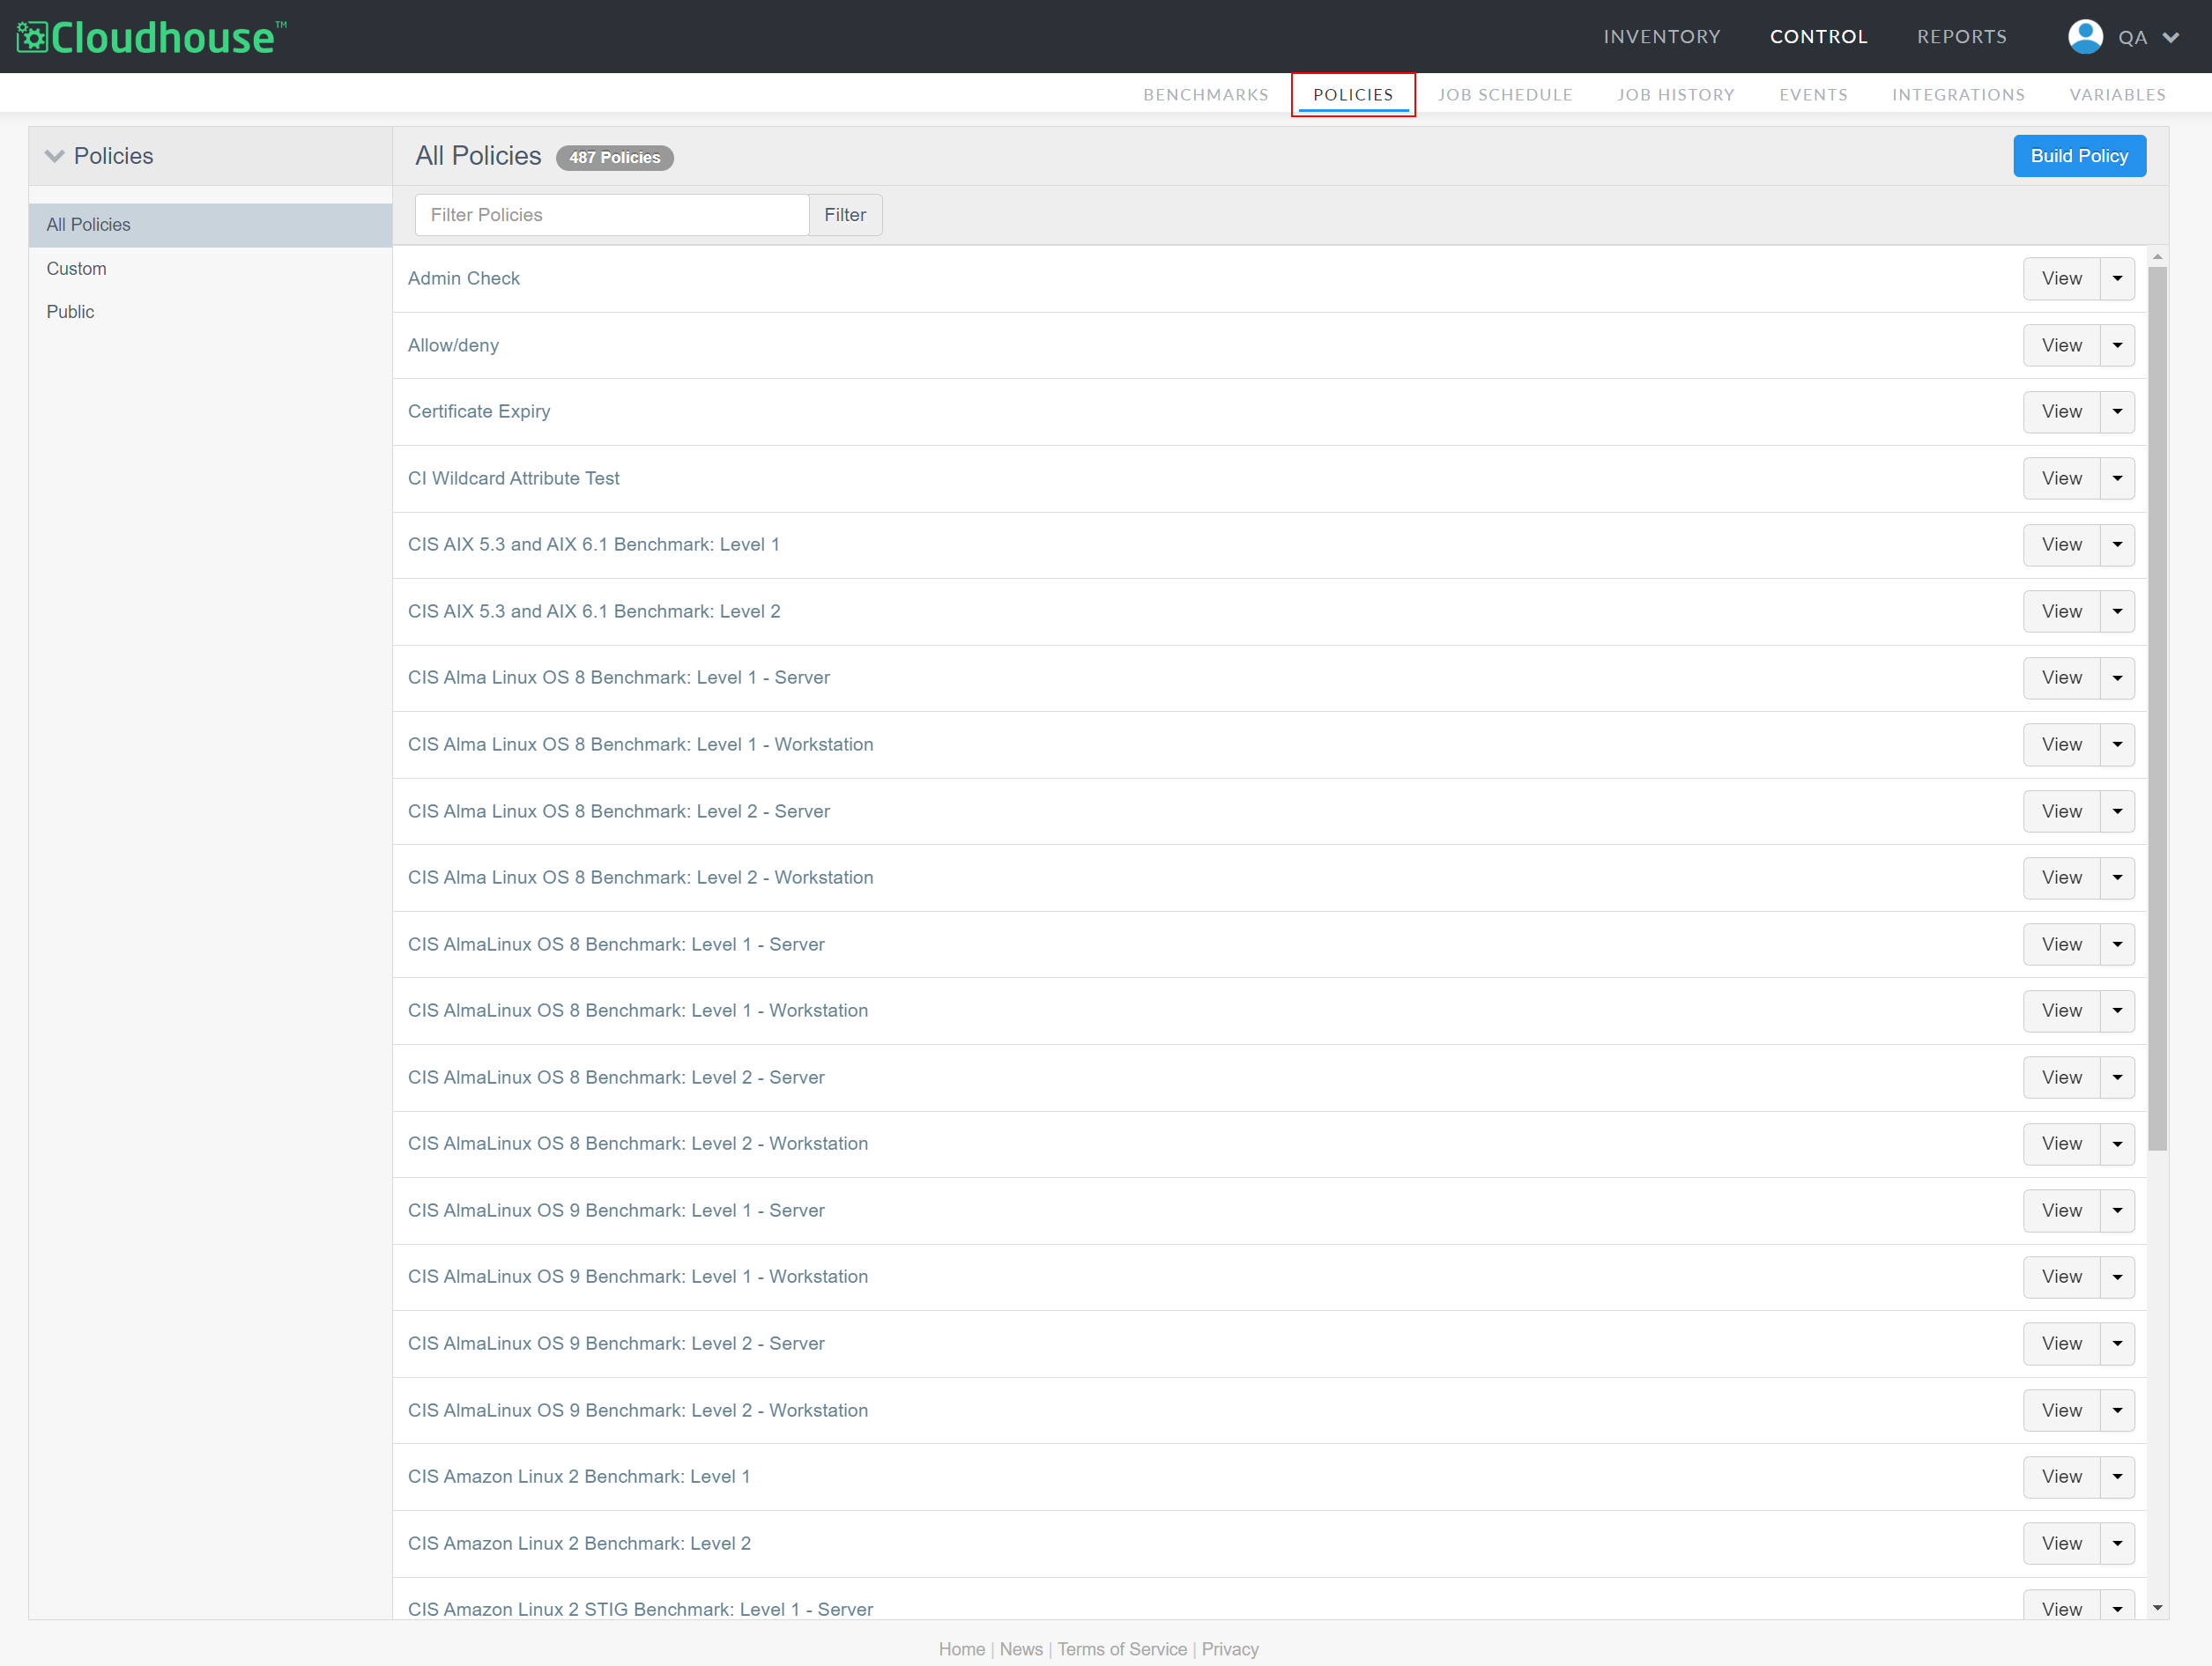
In the Guardian web application, navigate to the Policies tab (
Note: By default, the Custom drop-down menu is selected, displaying each of the custom policies. Alternatively, you can click All Policies to display both custom and public policies.
-
Locate the policy you want to export.
-
Click the View drop-down list and select Export.
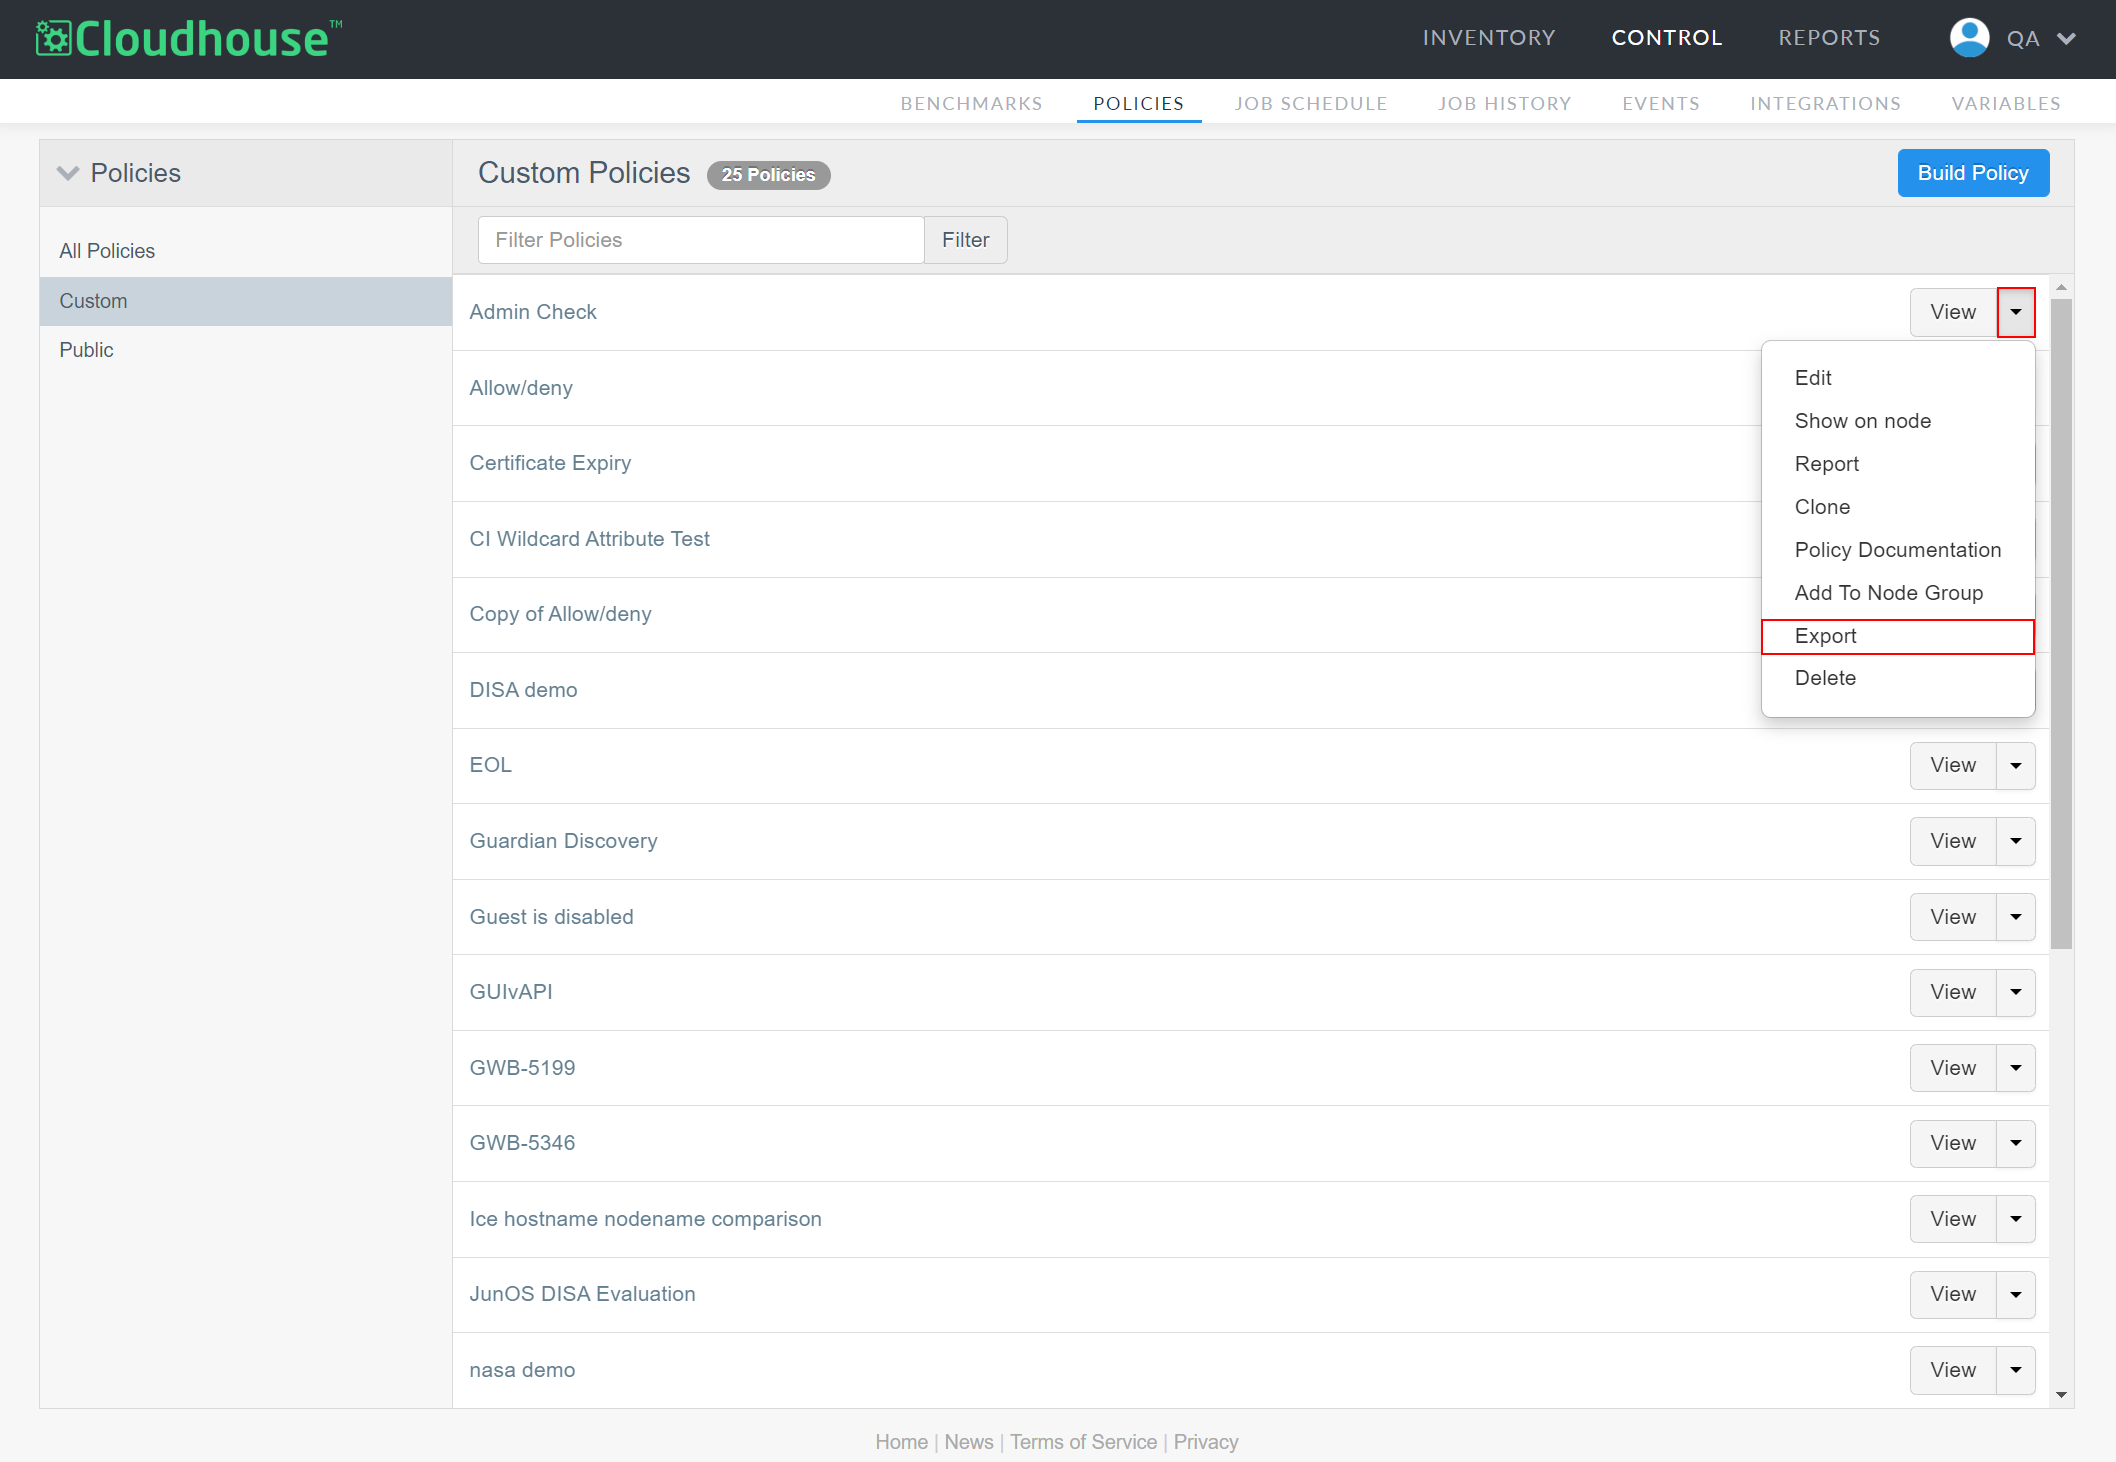
The policy is then downloaded locally to your device in JSON format. Open the downloaded file to access the policy's details, including each check included within the policy.
Import a Policy
You can import a custom or public policy into Guardian to use the pre-defined checks, with or without additional customization. For example, you could export a policy, edit it, and then re-import it into Guardian to continue using it. Additionally, you could import a policy from the Policy Library, or from our repository of public policies.
To import a policy into Guardian, complete the following steps:
-
In the Policies tab, click the Build Policy button. The Build Custom Policy page is displayed.

-
Enter a Policy Name in the field provided.

-
Optionally, you can select a value from the Add to node group drop-down list. If selected, the policy is applied to the node group and run against each of the nodes that match the policy's criteria.
Note: If you leave this field blank, you are still required to assign the policy to a node group later in order for it to be run. Otherwise, the policy will remain inactive.
-
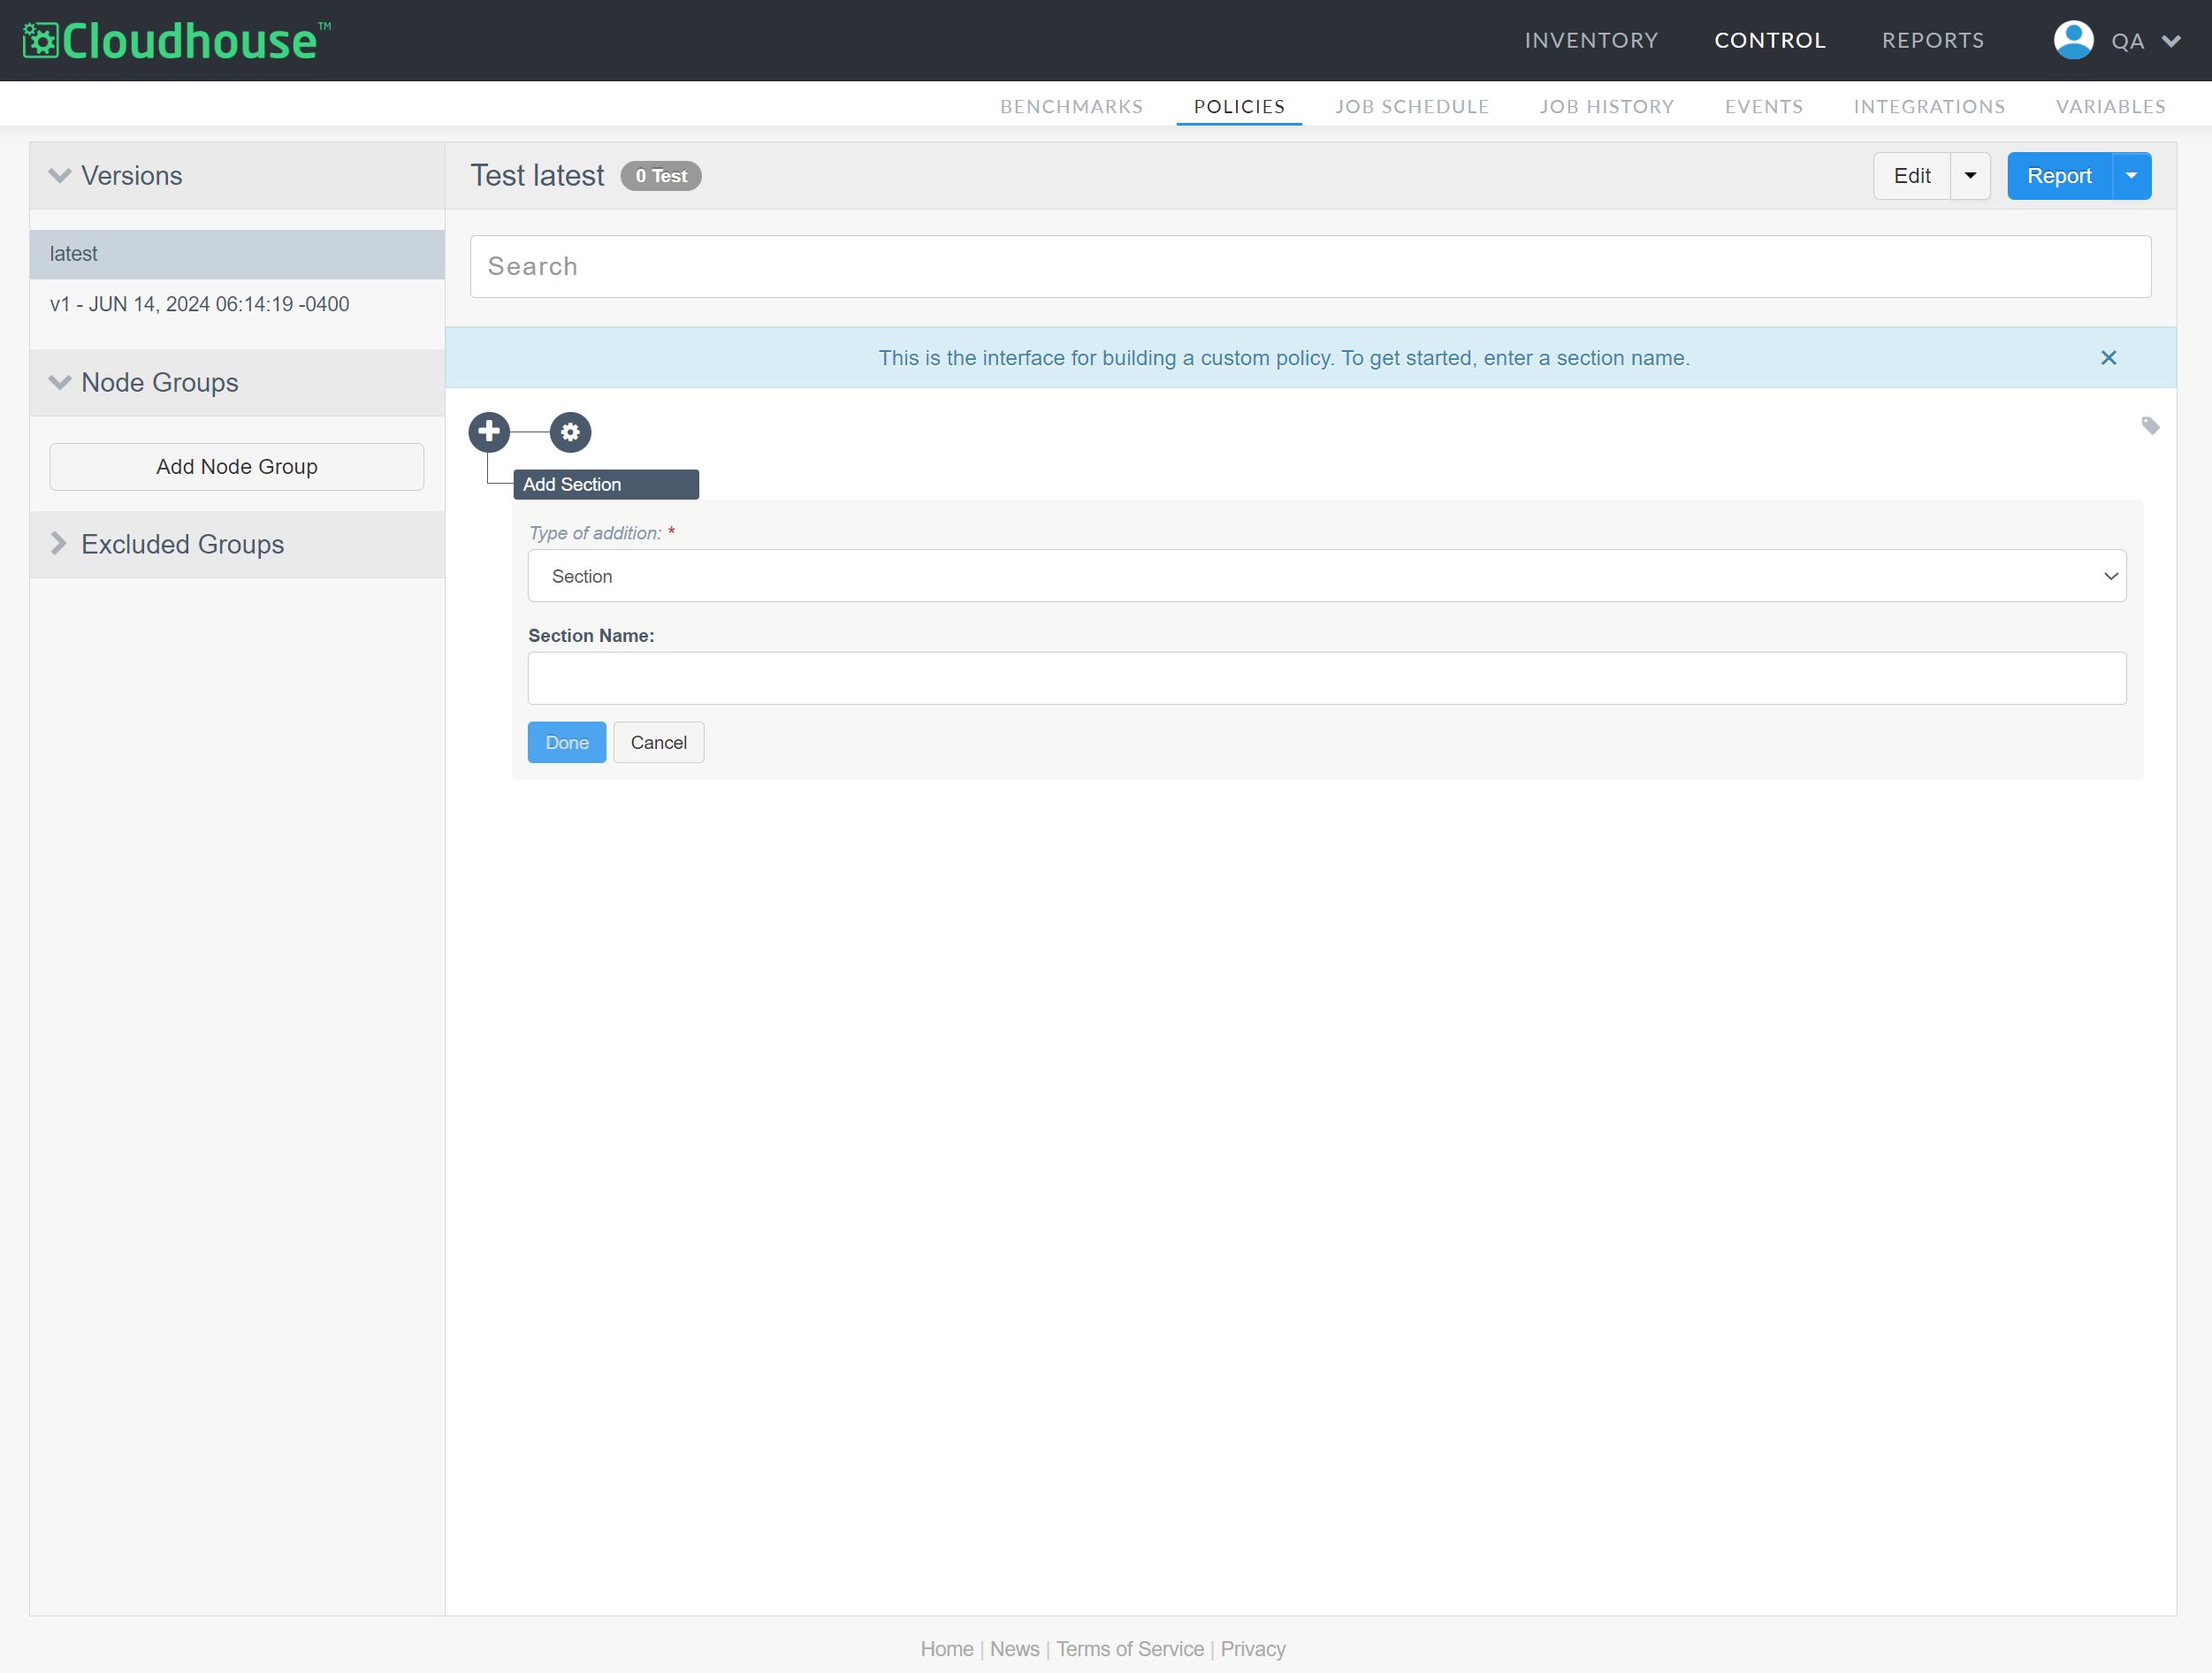
Once complete, click to Start Building your custom policy. The policy builder page is displayed.
-
Click the Edit drop-down list and select Import. The Import Policy Data dialog is displayed.
-
Upload the policy's file that you want to import. Then, click Continue.
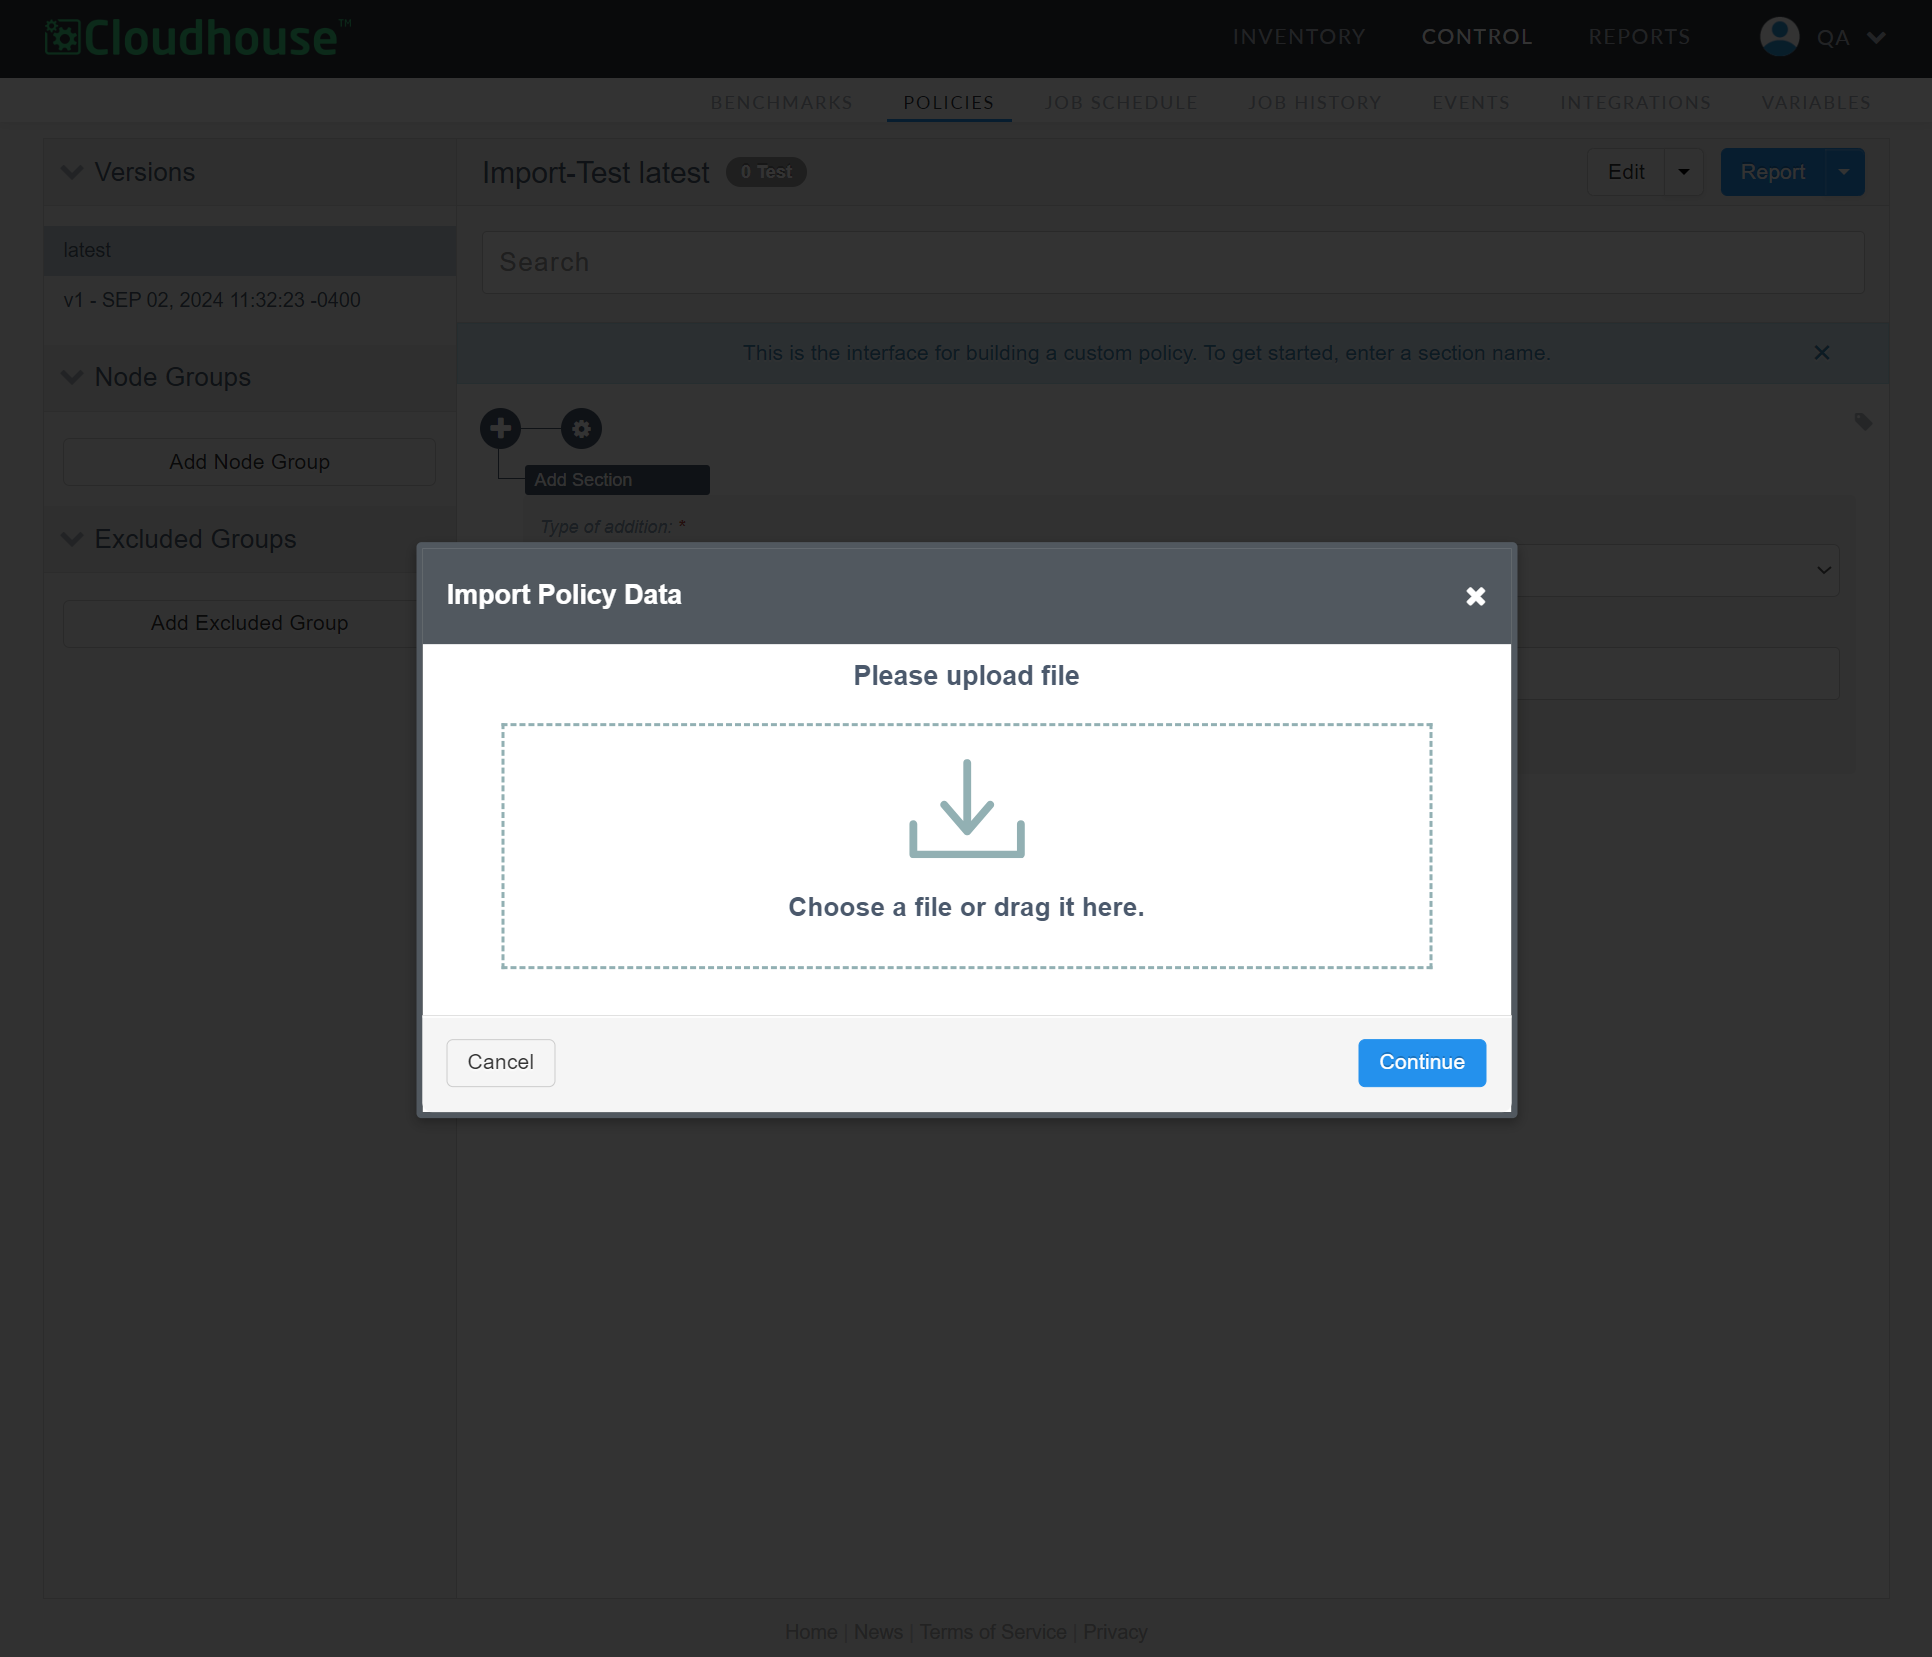
Once complete, the policy data is uploaded and added as individual checks to your policy. For more information on how to customize a policy on this page, see Build Custom Policy.